
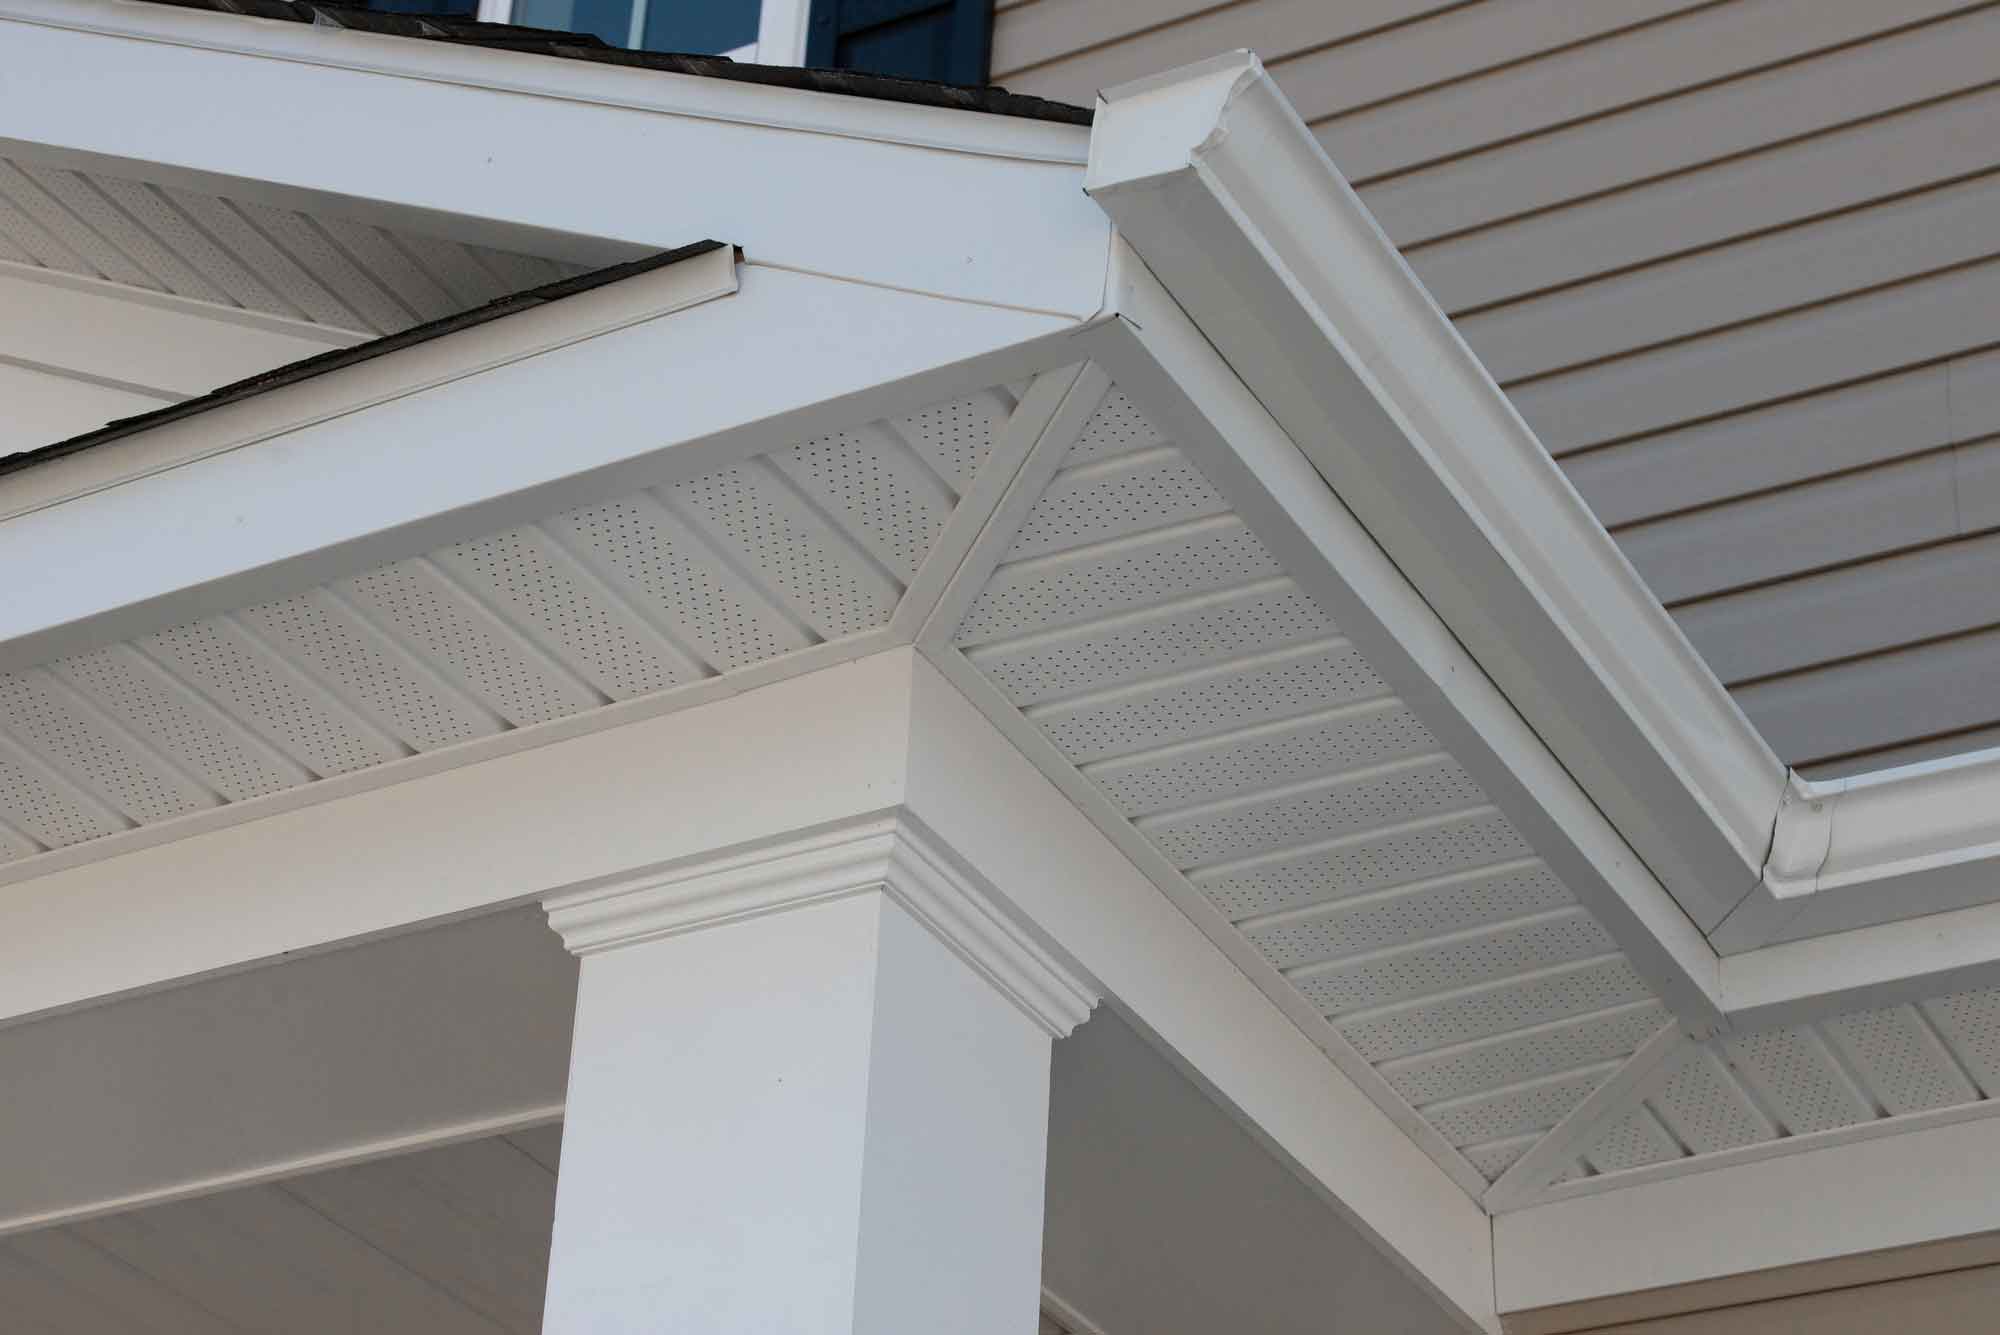
As you likely know, soffits connect your roof overhang to the side of your house. Although the underside of any element of a building can be called a soffit, typically we reserve the term for the area under the eaves of a roof. Soffits provide coverage and protection, shielding the eaves and rafters from weather damage. Plus, they improve the appearance of a roof and decrease the likelihood of mold, rot, and other forms of moisture damage. However, to improve the ventilation in your attic, you may wish to add vents to your soffits. Use the guidelines below to learn how to install soffit vents.
How to Install Soffit Vents
A well-insulated attic offers numerous benefits. It reduces heat in the summertime, it protects against trapped moisture, and it lets out built-up heated air in winter. Plus, it prevents ice dams in cold climates. Although many people mistakenly fear that vents will let in cold air in winter, your home’s living space is sealed and separated from the attic, so you won’t experience any discomfort. Although soffit vents are not a crucial element of every roof, they can be advantageous depending on the climate where you live.
To install soffit vents, you will need a few basic tools. Chances are you already have most of them in your toolbox: chalk, a circular saw or saber saw, nails or screws, and a hammer or drill. In addition, of course, you will need to purchase the vents you plan to install.
Now that you’ve gathered your supplies, are you ready to get started?
Soffit Vent Installation Tips
- Purchase your vents. Soffit vents are available in many sizes, styles, and colors. Select vents that fit your soffits’ size and complement your home’s aesthetics. Generally, you should have one square foot of vent for every 150 square feet of attic.
- Plan your cuts. Using chalk, mark the space where you will install the soffit vents. Space them evenly around the soffit area, and be sure that they will fit between the joists or rafters (use a stud-finder to locate them). Cutting into the rafters could weaken your roof’s structure. In addition, check that the holes will vent into the attic without obstruction. For example, check that they aren’t blocked by insulation. To make this step easier, simply trace around the vent.
- Cut the hole. Each hole should be cut slightly smaller than the corresponding vent, whether you’re using a circular or a rectangular vent. So when you make your cuts, go 1/2- to 3/4-inch inside the lines. Wearing eye protection, cut into the soffit with a circular saw or a saber saw.
- Place the vent. Finally, set the vent in place and center it. The louvers should point toward the house. Then, screw or nail the vent securely into place.
Prefer to Call in the Pros?
Now that you’ve learned how to install soffit vents, perhaps you’ve realized that you’re not up to the task. If this is the case and you live in southwest Missouri, simply give Taylor-Made Roofing a call at 417-326-8778 (toll-free number) or 417-374-1550 (local number) for a free estimate. We look forward to hearing from you!