Your whole roof will undergo some wear and tear over time, but—between erratic weather and pesky animals—a soffit is usually the first part of the roof to bear damage. When you notice your soffit beginning to mold or rot, it’s important to take care of it as quickly as possible in order to avoid further damage to your home. If your roof has this problem, read below to learn how to repair a rotted soffit in less than ten simple steps.
How to Repair a Rotted Soffit
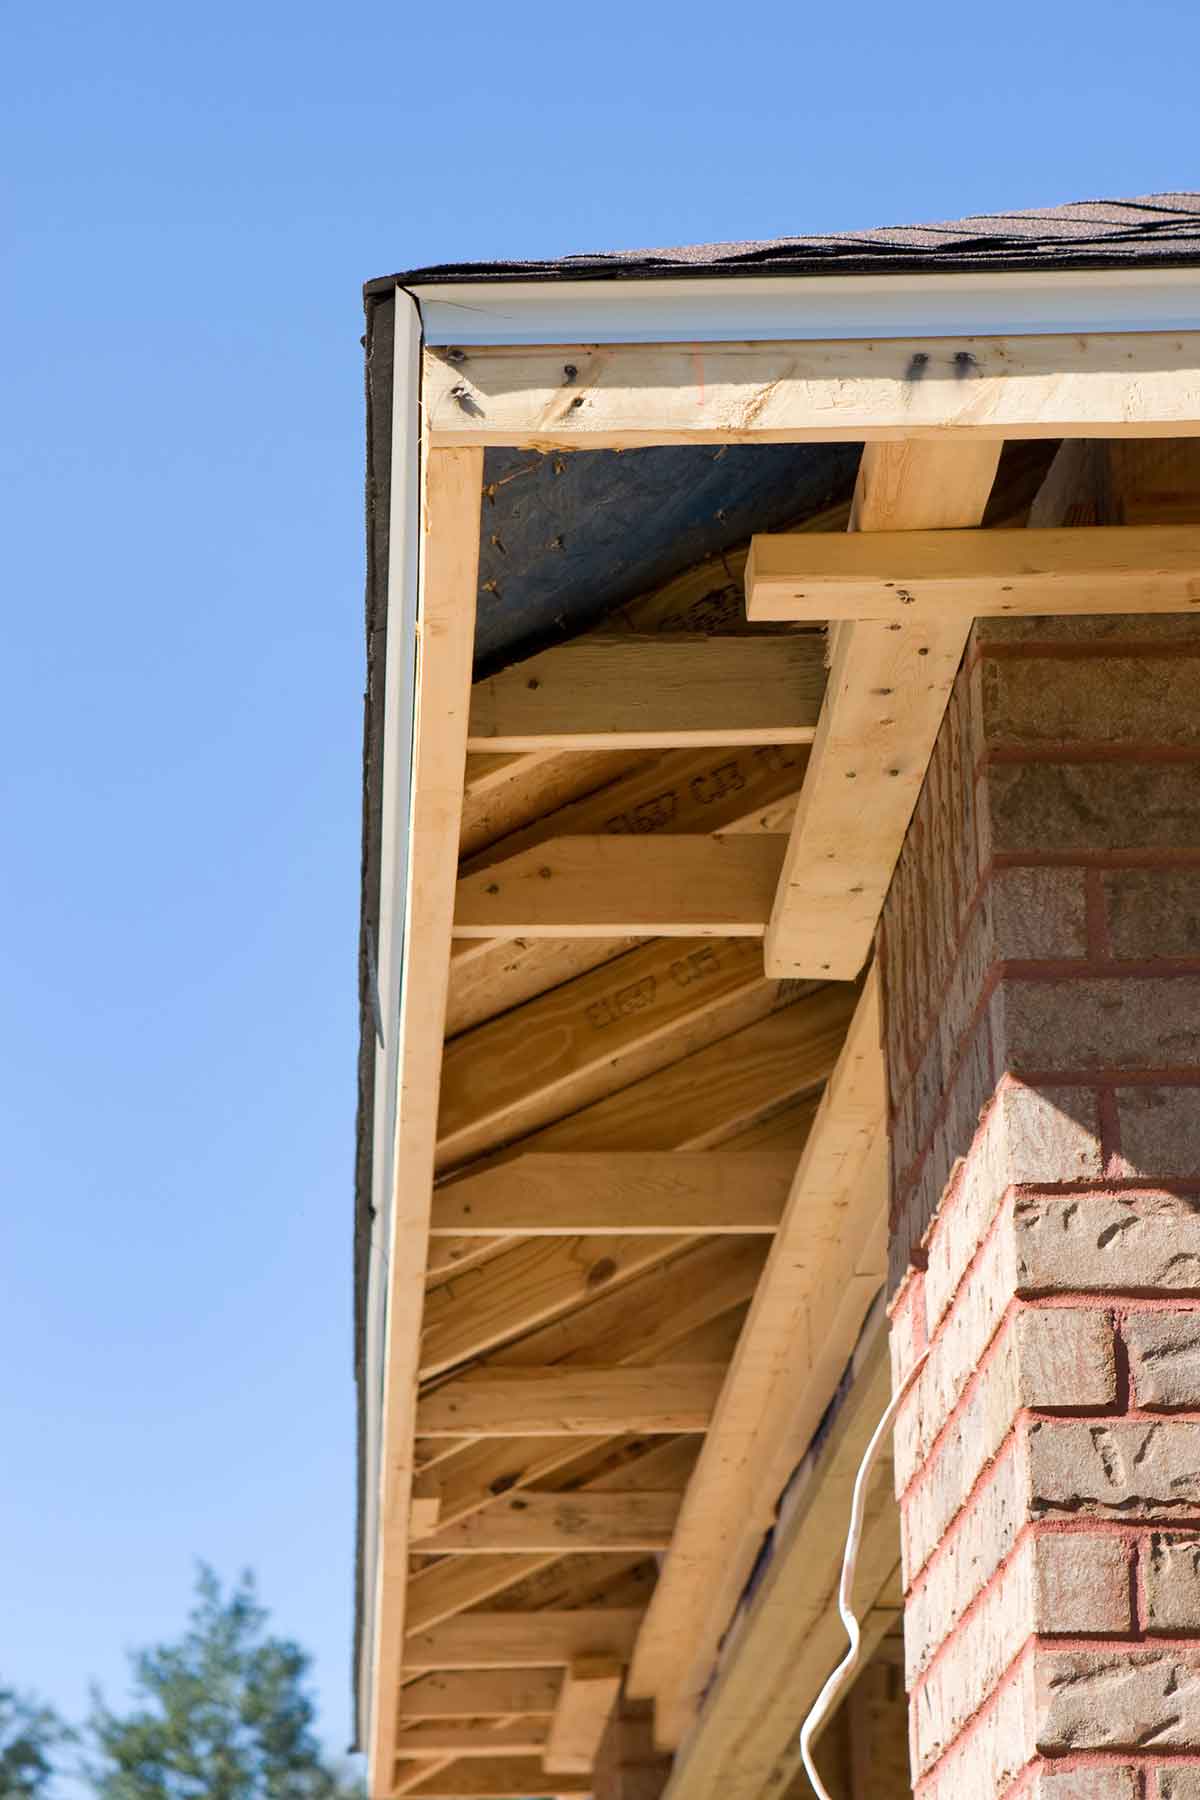
Before we start, how will you know your soffit is rotting? You may notice that . . .
- The soffit looks cracked and curls under the roof’s eaves,
- Some wood is completely missing from the soffit,
- There is water intrusion in your attic around the fascia,
- Animals have been sneaking into your attic, or
- When you tap on the soffit’s wood, it sounds hollow.
Now, the repair. The good news is that you won’t even need to climb on top of your roof to fix your soffit!
1. Pry off your shingle mold. Simply remove with a flat bar.
2. Remove the fascia. Use your flat bar again here. You can reuse your fascia if it remains in tact while you remove it. If it splinters, cut a new piece of wood (same thickness and measurements as the original fascia) and prime it on both sides. Let it dry while you work.
3. Remove the soffit’s rotting wood. You’ll likely just need to use your hands to pull it off. If you know (or just suspect) that an animal’s nest is the cause behind the rotting, be wary of that when you remove the wood. Cut a new piece of plywood for the new soffit.
4. Take out the rotted rafter (when applicable). You can use a reciprocating saw to do this. Cut out a piece pressure-treated lumber with the original rafter’s measurements.
5. Install the new rafter (when applicable). Clamp the new wood to a 1-inch backboard, and use a screw to install.
6. Prepare the new soffit. Using a waxy sealant, coat both sides and all edges of the new wood. This will help protect it from water damage.
7. Attach the soffit. Install to the underside of the eave using a screw. Look for any places water may seep through, and caulk those areas (and let dry!) before moving on.
8. Attach the fascia. Use galvanized nails.
9. Install the shingle mold along the top of the new fascia.
That’s it—you’re finished! Keep an eye out for rotting soffits before they become a problem. Remember that the two biggest culprits are weather changes and animals’ nests in the space behind the soffit. Of course you can’t help the weather, but you can keep up with regular maintenance and watch for animals nesting.
____
Repairing a soffit can be tough. Sometimes you just want someone else to do it for you. If you live in southern Missouri, contact the professionals at Taylor-Made Roofing. With over 20 years of experience in residential and commercial roofing, Taylor-Made Roofing is a company that you can trust with all of your roofing and guttering needs. Our family-owned business offers quality services, a reassuring warranty, and free estimates. For more information, please give us a call at 417-326-8778 or contact us online. We look forward to hearing from you!