If you’ve never heard of re-roofing, you might be surprised it’s even an option for a failing roof. It is, essentially, the process of adding a new layer of shingles on top of an existing roof to restore its appearance and function without a full tear-off. That’s right — it’s a roof on top of another roof! Re-roofing only works when the underlying structure is in good shape, and the roof currently has just a single layer of shingles (building codes typically forbid more than two layers of shingles for weight and safety reasons). It’s a faster, more affordable, and less labor-intensive alternative to fully replacing a roof. But you might be wondering, what does the re-roofing process look like?
Taking the Re-Roofing Process Step by Step
Layering brand-new shingles over an existing roof with lots of wear and tear requires a high level of professional expertise. Typically, the re-roofing process looks a little like this:
Inspection
Before the tools come out, your roofer will inspect your current roof to ensure it’s a good candidate for re-roofing. They’ll be looking for leaks, rot, and any other structural damage. If they spot significant issues, repairs and a full replacement may be required instead.
Preparation
Next, the roofer will prepare the existing roof so that it’s ready to be completely covered by new shingles. They will clean off any debris and either secure or remove any loose or damaged shingles. When they finish, your roof should be clean, smooth, and ready to act as a solid base.
Underlayment
This step isn’t always necessary, but in some cases, the roofer must add a new underlayment layer or a protective barrier. This layer, which will be located between the existing and new shingles, helps ensure that the roof is waterproof and can withstand heavy rain and snow.
New Shingles
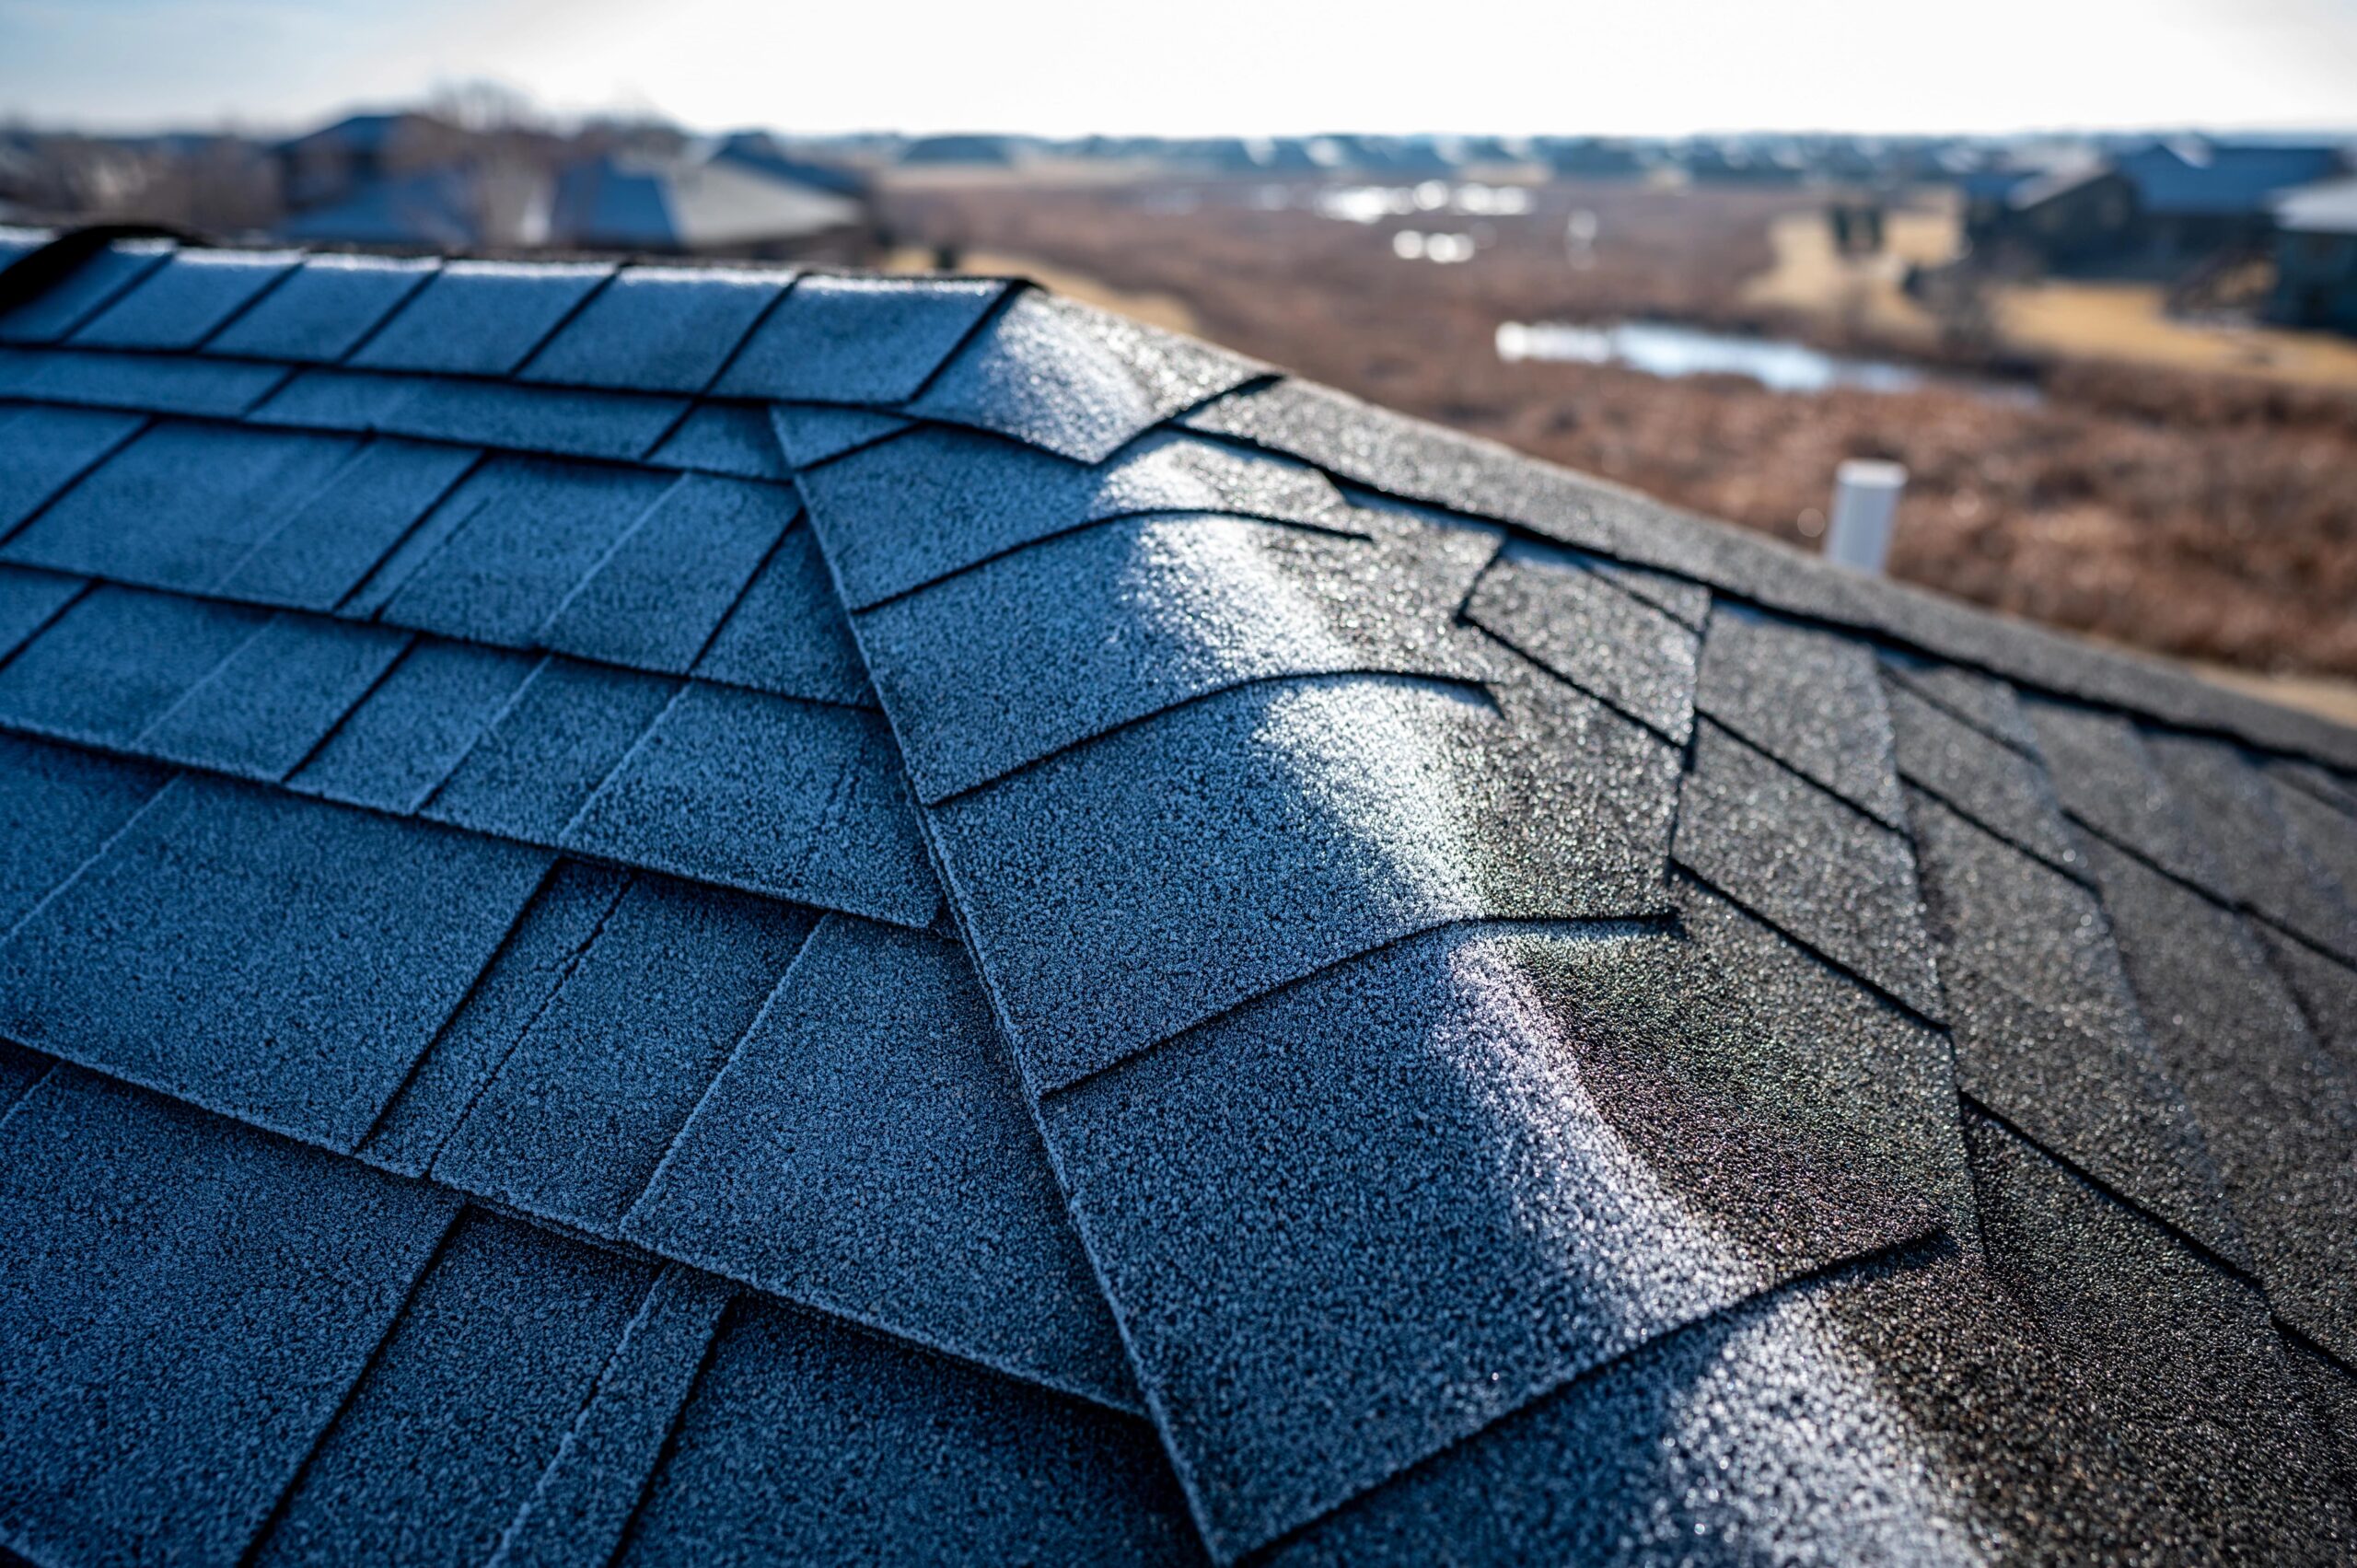
Finally, the new shingles are added. The roofer will lay them directly on top of the old shingles, starting from the bottom edge of the roof and working their way upward. Precision is required to ensure that the shingles are correctly aligned and well-sealed.
Ridge Caps & Ventilation
Once the shingles are secure, your roofer will install the ridge caps and ensure the roof vents are properly covered or upgraded. This step is vital to maintaining airflow and preventing moisture buildup.
Cleanup and Final Inspection
When the roof is complete, the roofer will clean up any loose nails, tools, and debris. Then, they will inspect the finished roof for quality and uniformity and perform any needed touch-ups.
_____
Typically, the re-roofing process can be completed in a day or two, though this obviously depends on the size of the roof, its complexity, and any issues that arise. While your re-roofed roof won’t last as long as a brand-new roof, it can still last 15 to 20 years with proper upkeep. Schedule regular inspections, clean out your gutters routinely, and check for damage after extreme weather to prevent premature wear and tear and ensure that you can address any minor issues before they escalate.
Are you interested in re-roofing? If you live in the Springfield, Missouri, area and you’re ready to get started, give us a call. As a local company with more than 20 years of experience, Taylor-Made Roofing is committed to delivering top-line roofing to homes and businesses throughout southwest Missouri. We’re fully licensed and insured and prepared to assist you with all your roofing needs. Whether it’s a new roof, roofing repairs, inspections, maintenance, or gutters, we’ve got you covered. To learn more about our services or request an estimate, contact Taylor-Made Roofing today.