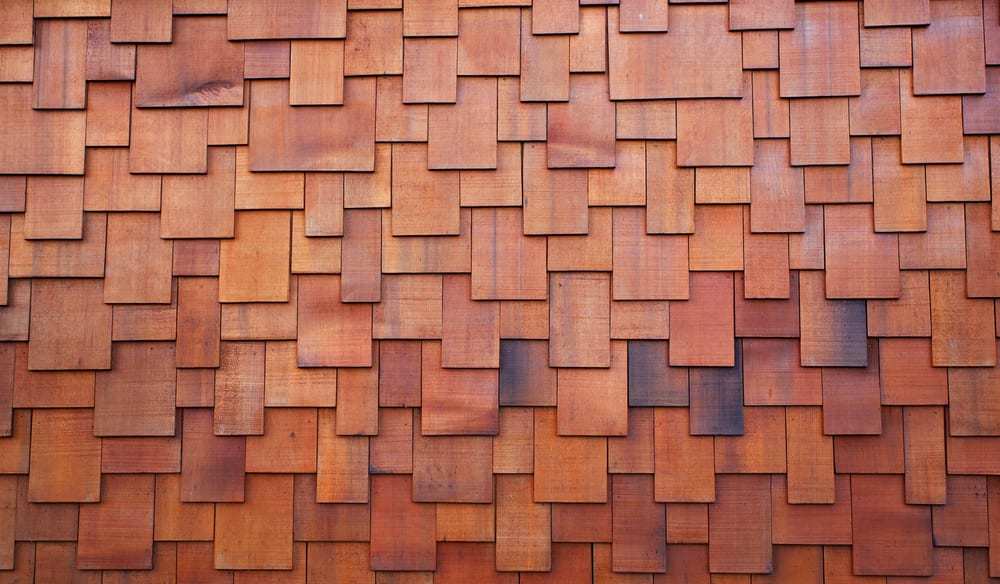
Wood shingles are an extremely popular roofing choice, offering unmatched aesthetic appeal that can last up to 40 years. Of course, that durability is based on roof slope, weather exposure, and inspection frequency. Like any roofing material, wood shingles can be vulnerable to extreme weather, which can cause them to split or peel. Once your shingles have been damaged, it’s important to act fast. Find out how to replace wood shingles to keep your home protected no matter the weather.
How to Replace Wood Shingles
When to Replace Wood Shingles
As a homeowner, it’s important to know when your wood shingles need replacing. Start by hiring a professional for an annual roof inspection. There are a few signs a roofer will look for:
- Leaky Roof: If you live in an area susceptible to severe weather and your roof is leaking, it’s time to reach out to a professional. Wind and rain can erode wood shingles and cause them to lift from the roof, leaving your home vulnerable to water damage. If you’ve already noticed water damage – either dampness or stains – it could be a sign of severe roof damage.
- Curling Shingles: Wood shingles are popular in part because of their appealing uniform look. They’ll usually lie flat when first installed, and they lend themselves very well to attractive weathering. However, if you see the corners of your shingles lifting, it’s a sign the roof has gone one step past weathering – it’s breaking down. The occasional curled shingle isn’t a problem, but if you have severely curled shingles sprinkled throughout the roof, it’s a sign of compromised roof integrity.
- Split Shingles: Wood shingles can withstand a fair amount of aging; however, over time, aging or impact could cause them to crack down the middle, creating a split look. Split shingles are more likely to fall off, which can lead to a severe leak.
The Shingle Replacement Process
Not sure how to replace wood shingles? It’s a fairly straightforward process, but it’s one that’s best left to an experienced roofer. Most roofers will replace wood shingles in roughly the same way:
- First, your roofer will remove the defective shingle, often splitting it along the wood grain to remove it in large pieces.
- From there, your roofer will carefully pry up the nails holding the shingle to the roof, taking care not to damage the roofing paper or sheathing underneath the shingle.
- Finally, your roofer will measure and cut a replacement for each damaged shingle, carefully installing them after removing the damaged ones.
Why Work with an Expert?
Replacing wood shingles seems like an easy process. In reality, a stray nail or poorly removed shingle can compromise the integrity of your entire roof. A professional will also be able to replace your shingles safely, which is especially important if your roof is extremely damaged or at a dangerously steep slope. Of course, working with a professional for annual inspections is also a good way to save yourself money and stress down the line. Professionals are trained to see signs of decay early, reducing the impact of future damage.
_____
Now that we’ve discussed how to replace wood shingles, it might be time to schedule an inspection for your wood roof. Taylor-Made Roofing is here to help. As a family-owned company with more than 20 years of experience meeting the roofing needs of those who live and work in southern Missouri, we know how to spot a roof in need of repair and repair it quickly, efficiently, and affordably. Whether you’re in need of basic maintenance, a repair, or a total replacement, we’re ready to help. Contact us today to learn more.

