If you’re patient, determined, and handy, there are many home improvement projects you can tackle with your own hands and tools. Not only does it save you money—you’ll also have the pride of knowing you did it yourself. Today, we discuss how to roof a house. This is no simple project, so read up before getting started!
How to Roof a House
Getting ready:
The first step in learning how to roof a house is understanding what you need.
- Does your location require you to have a permit? Look into that, and get one if you need it (you can usually work through steps 1 and 2 before you obtain your permit).
- Read up on roof safety. Does everyone working have the right shoes and a helmet? If you’re working near electrical wires, have they been inspected for safety lately?
- If you’re re-roofing, tear off the old material and see where you can recycle your shingles and nails.
Now, you’re ready to really start.
1. Apply your underlayment. This is the first step in creating a leak-proof roof. Choose a self-stick underlayment, as it’s best in shedding water and protecting against damage from wind. When applying, work in sections, and lay it out as straight and flat as you can while you pull (recruit a friend to help prevent and watch for ripples or bumps!). Make sure it’s completely flat before using nails or staples to fasten it to your roof.
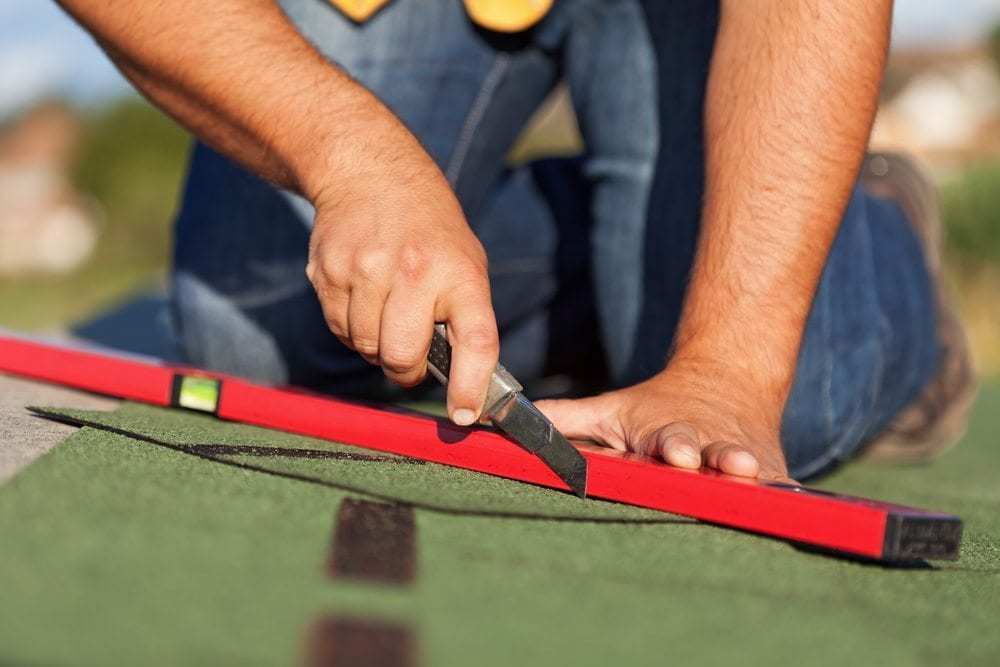
2. Apply your felt paper. This helps shed water that works its way under your shingles. Lay it down in rows, and remember: every row of felt paper will need to overlap the row beneath it by at least 2 inches (there will be marked lines on the paper to assist you). Fasten these rows with nails or staples, and plenty of them—at least one every 12 inches. (See photo below).
At this point, it is best to have a building official come inspect your roof.
3. Install your shingles (the simplest yet most tedious step!).
- Begin with starter shingles at the bottom edge of your roof. Otherwise, you increase your chances of leak! Allow each starter shingle to hang over your roof’s drip edge by about 3/4 of an inch.
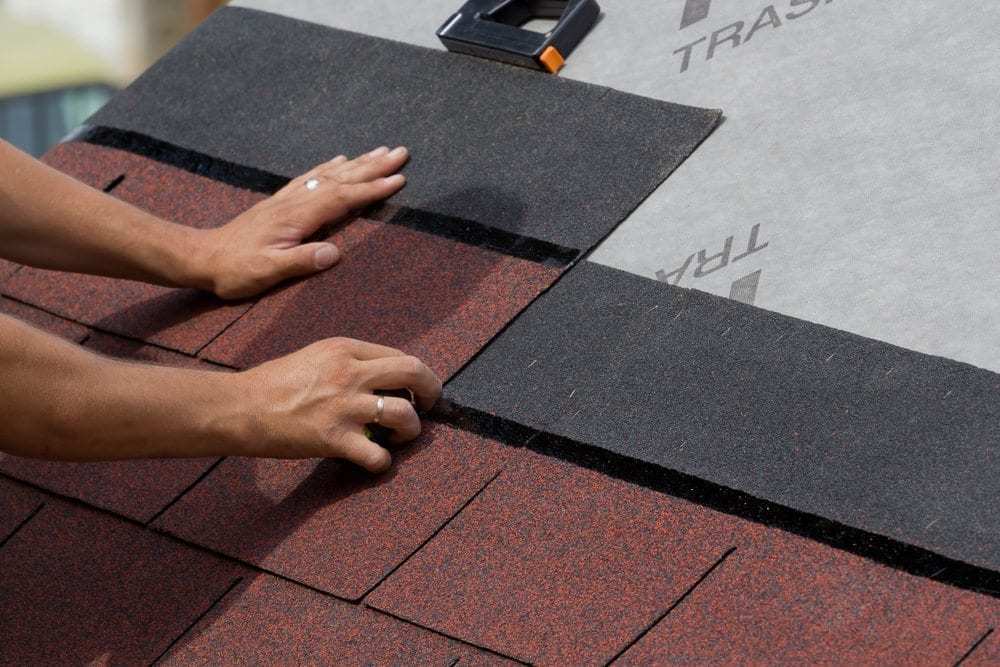
- Time for your (regular) shingles. Line up the bottom edge row with the starter shingles, making sure to stagger them a bit. Now, determine your reveal (how much of the shingle that isn’t covered by the row above it, usually varying from 5 to 6.5 inches). Snap a horizontal line from the top of the shingle to the reveal to mark the distance. From this point until you reach the ridges, follow your shingles’ guide on staggering and fastening (each manufacturer will have different practices) as you lay down each subsequent row. (See photo below).
4. Work around the anomalies. Do you have a chimney on your roof? What about vents or furnace stacks? Working around these structures is only a matter of patience. Be sure to not accidentally leave any vents covered with underlayment or felt paper, and check to be certain that you have proper attic ventilation.
5. Cover (cap) your ridges. Pick up store-bought ridge caps and a few longer nails (to get through the thick caps) to help you out.
6. Finish it up. You’re just about done! Feeling good? Before you step down that ladder, you’ll want to sweep off any debris you have on your roof and seal any exposed nails you see, as well as the areas around chimneys, vents, or stacks. Now, you can enjoy your new built-yourself roof.
Let’s face it—understanding how to roof a house (and then actually roofing!) is tough. Chances are our instructions have you feeling either inspired or overwhelmed. If you’re feeling less excited about this project, remember that Taylor-Made Roofing is just a phone call away, and we are happy to help.
___
Feel like calling in a pro? If you live in southwest Missouri, contact Taylor-Made Roofing. With over 20 years of experience in residential and commercial roofing, Taylor-Made Roofing is a company that you can trust with all of your roofing and guttering needs. Our family-owned business offers quality services, a reassuring warranty, and free estimates. For more information, please give us a call at 417-326-8778 or contact us online. We look forward to hearing from you!